
To spice up the blogger blog or to get the better look and feel we need to Edit some HTML and CSS. Blogger by default gives you the pager links as Older post, Newer Post and Home which allows to navigate through the blog. But you can customize it in your own way. You can add some style to change the looks of links. Change the link texts, add image instead of Text links, switch sides between newer and older posts, Adding background color or image to text, Removing the Blog Pager from the Blog. Let’s start one-by-one to customize pager.
Before doing any changes to the HTML Backup the Template. Then After follow your favorite customize option from below.
1. Changing the Pager Link Texts:
Blogger by default provides the older posts, newer posts as the Text links. You can change the text according to your choice.
Here <data:newerPageTitle/> is for Newer Post, <data:olderPageTitle/> for older post, <data:homeMsg/> for Home. Inside the template editor search for the any of the above data tag by pressing ctrl+f. Replace it with the Text you want. Ex: If you wish to replace the Older post with the Old Stuffs then Replace <data:olderPageTitle/> with Old Stuffs. Do changes as you required for all links.
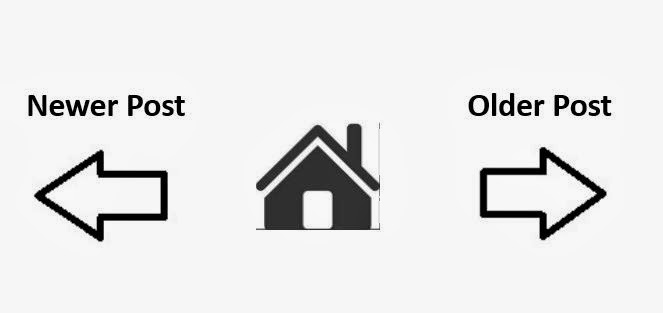
2. Add image instead of Text links:
You can add image instead of the pager links. To add it, search for the above data tags and replace it with the image tags. Suppose you want to add the Image to the Home link then search for the data tag <data:homeMsg/> inside the Template editor. Replace <data:homeMsg/> with <img src=”Full Image URL” />. Here Full Image URL is the path of the Image which is uploaded on the web. You can change the Older post and newer post with Image as well by replacing data tags with image or image arrows.
3. Switch sides between newer and older posts:
If you wish to switch sides of link text, you can do it by adding css code to the blogger template Designer. Move to Blogger> Template> Customize> Advanced> Add css. Here on the right side box you can add the custom css code to style your blog.
Add the below code to perform switching of the pager links
#blog-pager-newer-link {
float: right;
}
#blog-pager-older-link {
float: left;
}
Apply and view the blog to see the changes. You can also choose font-family and font-size for those links.
4. Adding background color or image to pager text link:
To add the Background color, add the css code attached to the older link, newer link and home link as below.
.blog-pager-older-link -> For Older Link
.blog-pager-newer-link -> For Newer Link
.home-link -> For Home Link
Suppose i am adding the Background color to the homepage link then my css code would be .home-link{background: #999999;}
Add it and apply it to view the changes. Here the background color is gray. You can also do same for the newer and older pager links.
To add the background image add the below css code.
.home-link {background: url(Full Image URL) no-repeat;}
Here the full image url is the image path uploaded on the web.
5. Remove Pager (Older post, Newer Post, Home links) from the page:
You can also hide or remove the pager links from your blogger blog. You can remove the entire HTML element <b:includable id=’nextprev’></b:includable> from the Template. It removes the entire HTML element and you can’t undo it. It’s better to hide the element instead of deleting it from html. Suppose you want hide the home link to be displayed. add the below css code.
.home-link {display:none}
If you want to hide the entire pager (all three links) at once then add the below css code
#blog-pager {display:none}
You can undo the changes by removing the code from css Editor.
Hope you enjoyed the guide ! Happy Customization 🙂